
About Me

- Chris
- Orlando, Florida, United States
- Contact me at:
chrisjohnleblanc@yahoo.com LinkedIn: Christopher LeBlanc
..............................................................................................................................................................................................................
I'm a professional computer graphics artist interested in using my artistic skills and creativity to develop successful and inspiring projects.
Tuesday, November 5, 2013
Monday, September 30, 2013
Rubble and MassFX Simulations
I've been looking for a quick way to lay out some piles of rubble and debris for my scene. Instead of placing individual objects on the floor I thought maybe running a rigid body simulation would do the job faster. Looks like I was right. :D
Friday, September 13, 2013


Tuesday, August 20, 2013
Diffuse Painting Progress
I've been using Zbrush to paint the diffuse texture for the walls. There's a lot of space to cover and I have to zoom in close to make sure micro details are captured. It has been really helpful for me to use photo textures from my library to help me with color since I struggle with color blindness. I use Zapplink to link up with Photoshop and then project the photos and even do some hand painting too. In Photoshop I use layer masks alot, that way it's like I'm painting with photos. I just make a brush stroke where I need different texture materials to show. This technique is fast so allows me to easily get huge amounts of detail so I can worry about the big picture.


Thursday, August 15, 2013
Vray
First test render of my scene with Vray. I took about an hour converting the scene from Mental Ray to Vray and quickly fired of a few renders until I got this. Total render time for this frame using just one of maybe 6 different rendering methods was just under two minutes. It's amazing, that same render would've taken MR something like 15-20 minutes at least. Vray could be a game changer for this project of mine, hopefully I can now work without the software getting in the way.


Monday, August 5, 2013
Memory Issues
I've come very far with the bazaar scene. At a certain point a few months ago, I decided to bring in all of my geometry from Zbrush as decimated geometry which renders quickly but adds tens of thousands of polygons to the master 3DS Max file. Sure enough, I maxed out my all of my RAM and can no longer add to the scene. So, as a result, I now am running tests to find the best method of dealing with the problem. The question here is: do I want to use bump maps on low poly geometry or displacement maps. I don't like working with displacement maps alone because they are a pain to generate and take a long time to render. Here's a test render with high lighting and shadow quality settings.


Tuesday, July 30, 2013

Wednesday, June 26, 2013
WIP Renders


Still seems flat and unrealistic despite carefully sculpting realistic details into the wood and plaster walls. I wonder if that is because I haven't placed anything in the foreground and most of the mid ground?
Thursday, June 20, 2013
Composite Map Render Test
I've been experimenting with using 3ds Max's composite map node to layer multiple bump maps on top of one another. Here is a test render.


Wednesday, May 22, 2013
1 Hour Portrait Study
Sat down today and was able to try a portrait. I always have this internal fear that causes hesitation before I try something like this. These types of drawings always upset me. I hate looking at an observational drawing and then comparing it to the reference and seeing how badly the proportions are off. Anyways, I went for it and after an hour I had this pretty close. It doesn't look like the actor in the photo but it's decent. And I refined the lines and shapes several times over before it looked reasonable.


Wednesday, May 8, 2013


Update: Got most of the color texture done. I'm not the best painter because I struggle with color and I don't quite have a process. As a result, I just go at it painting away in an uncontrolled and experimental manner until I'm happy enough with what I see.


Update: Finished sculpting phase mostly. Next I will add some imperfections like scratches and a dent or two. I'll soon texture this lantern to look old and fill the crevices with dirt.

Tonight, I worked on one of the many lanterns I plan to have in my bazaar scene. This is two days of work so far. I just started right in with Zbrush sculpting using the default sphere. I spent a few hours making Photoshop patterns observed from reference photos.

Tuesday, April 23, 2013


Monday, March 25, 2013
Wasted Weekend

-----------------------------------------------------------------------------------------------------------------------------
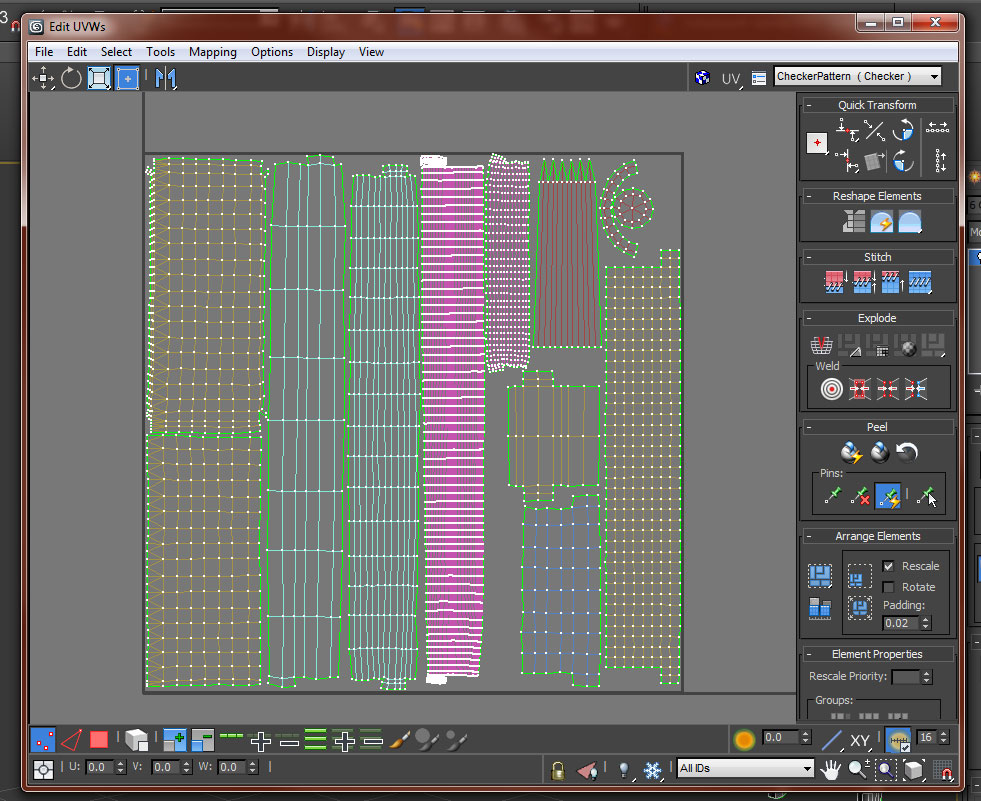
Starting Friday, I needed get this wooden board from Zbrush into Max and to properly render with Mental Ray. It took maybe 12-13 failed attempts and reimports. Just when I think I understand displacement maps, I find a new bug or subtlety I need to understand. When I encounter something new like that, I always need to figure it out. I know other ways of doing this but I don't like to take short cuts. I needed all the wood planks/boards for my market place stand to fit onto one UV space. This is for efficiency's sake. This is very very hard to do.

1.) First thing that went wrong - jumbled vertex IDs. I kept baking out maps in Zbrush and they came out all jacked up! The displacement map looked like one of those puzzles you have to slide the squares around until the picture is pieced together. After retrying maybe 8 times on Saturday. I gave up. Came back hours later and realized... I reimported new UVs and replaced old useless UVs in Zbrush. This is a little trick you can which is supposed to make Zbrush more approachable and fun. The idea is to just let you as an artist worry about creativity first, then technical issues like UVs later. Well, turns out, you CAN reimport new UVs onto an already sculpted model but Zbrush gets confused and re-assigns the vertex IDs. As a result, you'll recognize your UV islands in the map but each polygon is misplaced like some weird mosaic. I didn't even know about vertex IDs until it dawned on me I was doing everything correct but Zbrush wasn't keeping everything in order. After researching, I found that individual vertices have their own identification number of some sort. These got all screwed up when I tried reimporting good UVs. So in the end, that little trick was useless and just confused me, not to mention it wasted my entire Saturday!
2.) Second thing that went wrong - Turbo Smooth doesn't smooth your model and retain the shape. It only smooths your model uniformly according to smoothing groups. Seems obvious but for a long time I have been using Turbo Smooth to add geometry to my displaced models at render time which is used to produce more resolution and therefore more detail in the render. After wasting hours today, Sunday, I realized the reason my displaced models look distorted is because the shape that was being displaced was incorrect. When you displace geometry with a displacement map, the map is created to only displace the geometry properly from a specified form, the form used when you bake the low poly model. If any other shape is used, you will get a stupid looking distorted displacement in your render. Turbo Smooth smooths out your model which changes its shape. In the past, this was never a problem, I've actually been using Turbo smooth for years to add detail at render time. It might not have worked this time because I used a new workflow. I made a base mesh in Max then imported to Zbrush/sculpted then decimated and imported back to Max then used Freeform tools to retopologize then imported the new retopologized mesh into Xnormal along with the decimated mesh from Zbrush and baked out the displacement. I probably rebaked that one map 20 times or so this weekend. The solution was to stick with the low poly retopologized geometry and enable NURMS subdivisions on the right side window pane. I set it to 2 and it properly adds detail/resolution at render time.
I can't keep wasting time on such stupid things. My life is being wasted on technical issues and I'm not creating the art I would like to.
Tuesday, February 26, 2013


Subscribe to:
Posts (Atom)